
Mic Check: 5 Ways to Make the Mic Your Friend

Mic Check: 5 Ways to Make the Mic Your Friend
In the previous installment of How to Sing! Properly, we showed you how to get started on your singing journey on Smule. The most important tool in starting this journey is, of course, your voice! But how are we able to hear how great you are? Simple – by using the second most important tool you have: your microphone! Singing in the shower or car is easy. But using a microphone can add a very different feel and sound to your voice, even if it’s just the internal microphone from your device. Read on for five fast tips to get your mic ready, steady and set.
1. Choose the right microphone
There are three common microphones that you can use with Smule app. Each one has it’s advantages and disadvantages.
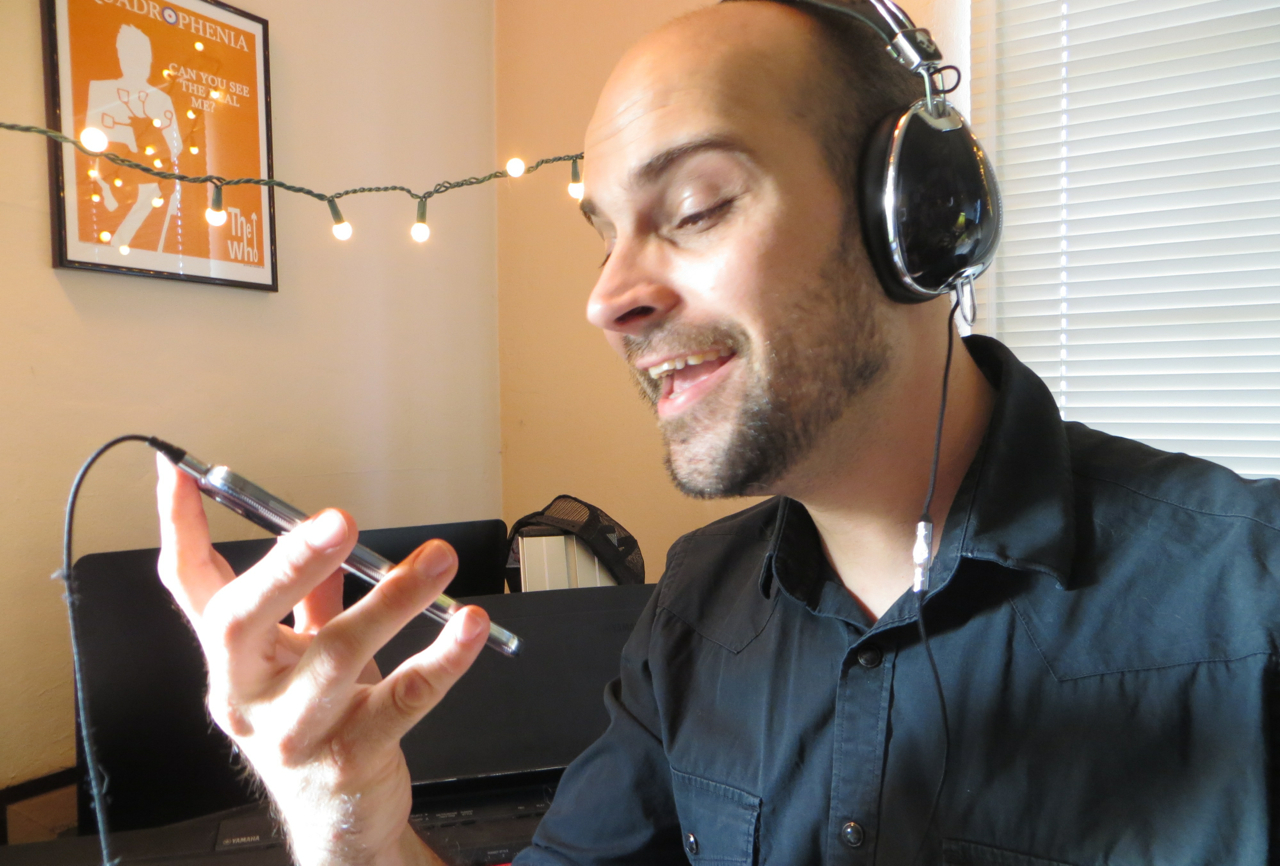
- Headset Mic: These are microphones that are attached to headphones and earbuds. They usually come with whatever device you are using, and are simple to use. But they may not provide the best sound when recording.
- Built-in or Internal Mic: These are the microphones that are built into each device. You must use headphones to take advantage of these mics.
- External Mic: Feeling like a pro? Get an external handheld “stage” mic, or a tabletop recording mic. These are usually pricey, and can be challenging when trying to find the right levels when recording. But external mics can replicate the “live on stage” feeling, and help you develop better mic technique when singing.
2. Location, Location, Location!
It’s obvious that you get the best recording when holding the microphone to your mouth, but it may not be readily apparent just exactly where the microphone is! When using a built-in microphone, be aware of where the mic is on the device. On the iPhone 5, for example, the mic is at the bottom, next to the charging port. On the Samsung Nexus 7, the mic is on the right side near the volume buttons.
Hold the device in a way that does not cover the mic, or you will get a muffled sound. Also, hold the device at a comfortable distance away from your mouth, where you can still see the lyrics and pitch lines. A good trick to use is to hold an open hand up to your mouth. The distance between your thumb and pinky finger is how far away you should hold the device from your mouth. Holding the device too close to your mouth when singing loudly can distort the sound, or may sound muffled and muddy.
Try and use good mic technique. If you are singing quietly, hold the device closer to you, say between 4 and 5 inches. When singing loudly, hold the device a bit farther away, somewhere between 12 and 13 inches. Lastly, make sure you are holding the device in hand, or if placed on a table, make sure the table isn’t reflective. That’s because smooth or hard surface will reflect your sound, causing unwanted audio issues such as heavy reverb and possibly distortion.
3. Testing. Testing. 1, 2, 1, 2
When singing, you want to set a good monitoring level, or how well you can hear your voice when singing. If you have your monitoring level too low, you may overcompensate by singing louder. Take note that the monitoring volume level on Smule iOS is only how loud you can hear your voice in your headphones, not how loud the recording will be played back. Smule will do some normalizing of your volume – too loud will be made quieter and too quiet will be boosted. But if you have too much dynamic range, the track will sound inconsistent. You want to sing at a natural, relaxed volume, which will help you sound your best and help you sing for longer periods of time!
4. Play that back for me, will ya?
Experimenting with a few recording and playback sessions are a good way to figure out the right volume level for you and your microphone. Is the sound clear or muffled? If muffled, try singing with the device a little further away from your mouth. Hearing feedback? Turn down the monitor level, or even the device volume level. Voice too loud or quiet with the music? Make subtle adjustments with microphone distance and levels. It’s all about trial and error. Along the way, you will start to know your voice better, which is always a good thing.
5. Taking it to the next level
Feel like expanding your singing toolbox? You can turn your bedroom into a professional Smule recording studio, with a few simple objects to help hone in your style, and most importantly, your sound. You can consider buying things like:
- Pop filters to reduce breathy sounds such as “esses” and poppy sounds like p’s and t’s
- Cellphone or table device mounts to put them on a microphone stand for hands-free singing and even better rocking out experiences
- Reflection filters like the CAD Audio Stand Mounted Acoustic Enclosure to get rid of the echos in your room.
- A microphone is a tool. Learning how to use it for your own voice will yield amazing results with every performance. And remember: no matter what you choose to sing with, the most important thing is that you keep singing!
Note: We don’t endorse any particular equipment, but we’re having just as much fun as you all playing around with the possibilities.
– Keith Houston, Smule Q/A Engineer and Karaoke Host